SMS Installer is available for download from the SMS Web site (http://www.microsoft.com/smserver).
To use SMS Installer, you must first download the self-extracting
executable file Smsimain.exe and then run it on an SMS 2003 primary site
server. The executable file checks to see whether the server is a
primary site server. If the server isn’t a primary site server, the
installation stops. If the server is a primary site server, the SMS
Installer files are copied to a directory you specify or by default to
%SystemDrive%:\SMS Installer Setup. SMS Installer itself consists of a
single self-extracting file, Smsinstl.exe, that you can copy and run on a
reference computer.
Identifying and Configuring a Reference Computer
The next phase is to
configure a reference computer. SMS Installer supports any computer
running Windows 95 and higher and requires about 5 MB of RAM and at
least 6 to 11 MB of hard disk space for the installation. The reference
computer must be a standard desktop configuration that’s representative
of your target computers. This computer contains the applications and
registry settings that are configured on the end-user systems. It’s
critical that the reference computer be identical to the computer
systems on which you’ll be installing the final software package. Be
sure to check the following system components:
Hardware devices
The devices installed on the reference computer should match those
installed on prospective target clients, including graphics cards,
modems, I/O configurations, and disk drive configurations, especially if
the application references these components during its installation.
Operating system
The reference computer’s operating system should match that of all
target systems, including version number and perhaps even service packs
installed, especially if the application is platform specific.
Installed applications The
reference computer and all target computers should have the same
applications installed. Unless the repackaged application has a specific
dependency on an existing application, the reference computer should
contain only software that the repackaging process directly needs.
Directory structure
If your script includes telling the application where to place the
application’s installation files, it’s imperative that the reference
computer’s directory structure and the directory structures of the
prospective target clients be standardized. Any changes, however
insignificant they might be in the mind of the user—for example, moving
or renaming the Program Files directory—can result in failure to run the
script.
As you can see, the
choice and configuration of the reference computer is one of the keys to
creating a successful script using SMS Installer.
Caution
If
the original setup program for a software application needs to detect
hardware during installation and if subsequent target computers don’t
have identical hardware and drive configurations that match the
reference computer, a repackaged SMS Installer installation will most
likely fail. Similarly, if the original installation program updates or
modifies data files and the target computers don’t contain the same
configuration as the reference computer, the SMS Installer–generated
files won’t be installed correctly. For this reason specifically, it’s
not recommended that you run SMS Installer on an SMS client. |
Installing Systems Management Server Installer on the Reference Computer
Once you’ve selected and
properly configured the reference computer, you can install SMS
Installer. Remember, the more closely the reference computer resembles
the proposed target computers, the higher the rate of success for using
SMS Installer.
To install SMS Installer, follow these steps:
1. | Copy the Smsinstl.exe self-extracting executable file to the reference computer.
|
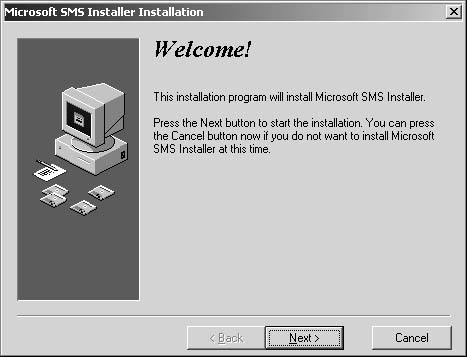
2. | Run
Smsinstl.exe to start the Microsoft SMS Installer Installation Wizard.
Read the license agreement that displays and click Agree to display the
Microsoft SMS Installer Installation Welcome page, shown in Figure 1.
|
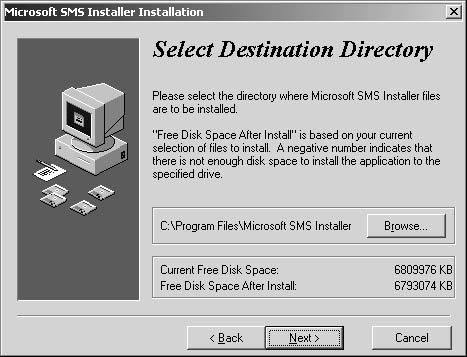
3. | Click Next to display the Select Destination Directory page, shown in Figure 2.
Specify the destination directory for the SMS Installer files. By
default, they will be placed in a folder named Microsoft SMS Installer
under the Program Files directory.
|
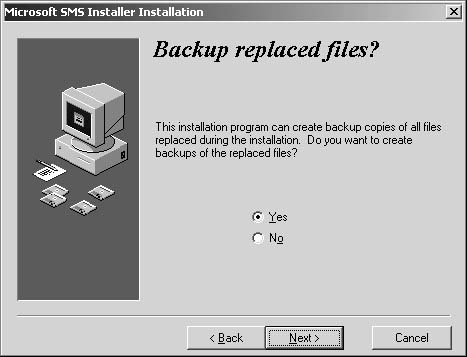
4. | Click Next to display the Backup Replaced Files? page, shown in Figure 3.
From this page you specify whether to create a backup of all files
replaced during the installation. Select Yes to keep a copy of the files
that are changed during the SMS Installer installation. Select No to
overwrite these files.
|
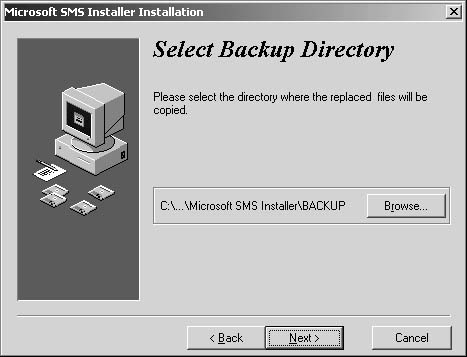
5. | Click Next to display the Select Backup Directory page, shown in Figure 4,
and select a location for the backup files to be written to. (This page
won’t appear if you selected No in the previous page.) By default, the
backup files will be written to a folder named \Backup in the
installation folder you defined in step 3.
|
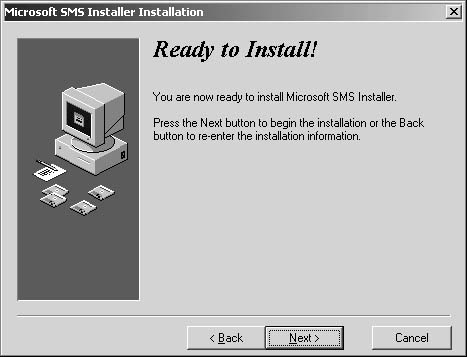
6. | Click Next to display the Ready To Install page, shown in Figure 5.
|
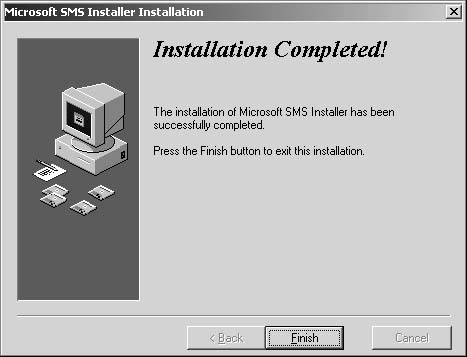
7. | Click Next to copy the files and then display the Installation Completed page, shown in Figure 6. Click Finish to exit the SMS Installer installation process.
|
Once the installation
of SMS Installer is complete, the utility is ready for use. When SMS
Installer is installed, it creates its own program group on the Start
menu. You can access the utility by choosing Programs from the Start
menu and then selecting the Microsoft SMS Installer program group.
Alternatively, you can navigate directly to the Program Files\Microsoft
SMS Installer directory through
Windows Explorer. With either method, you’ll be able to select the
appropriate development environment by selecting the appropriate program
entry in the SMS Installer program group or by double-clicking
Smsins32.exe.